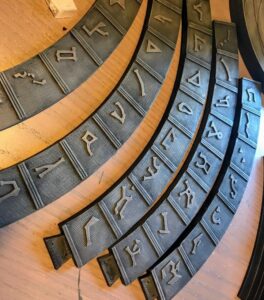
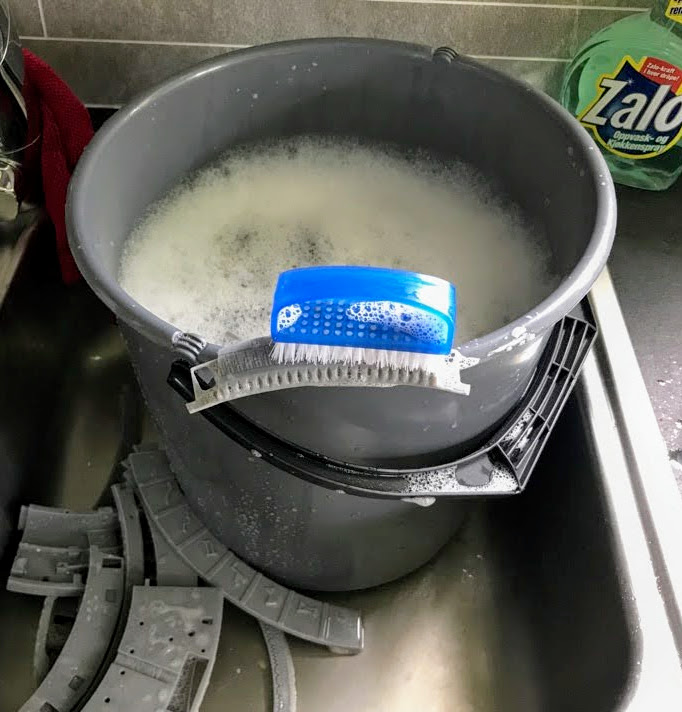
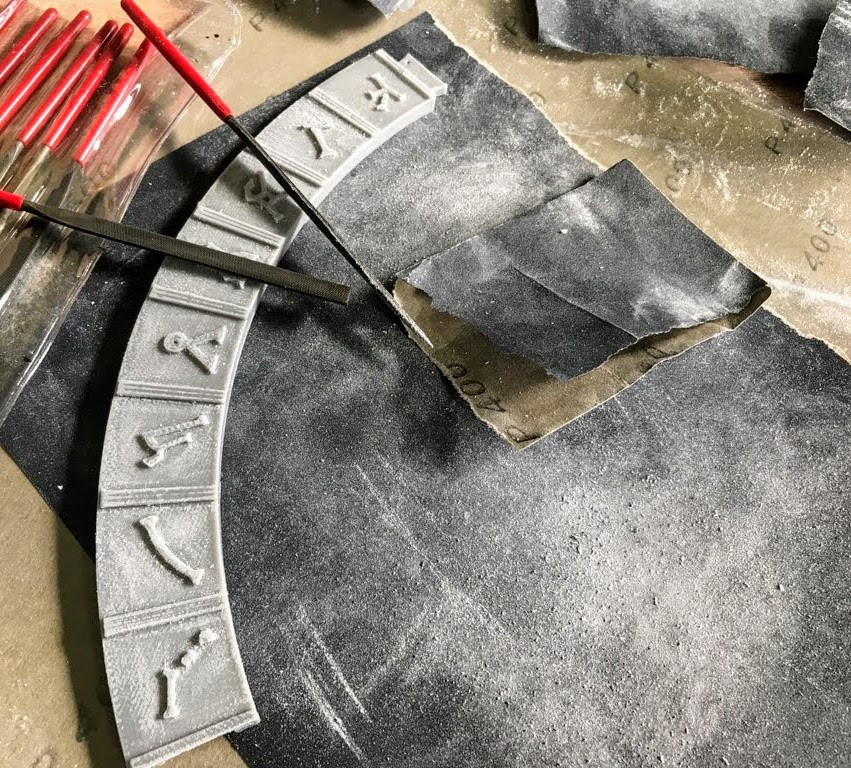
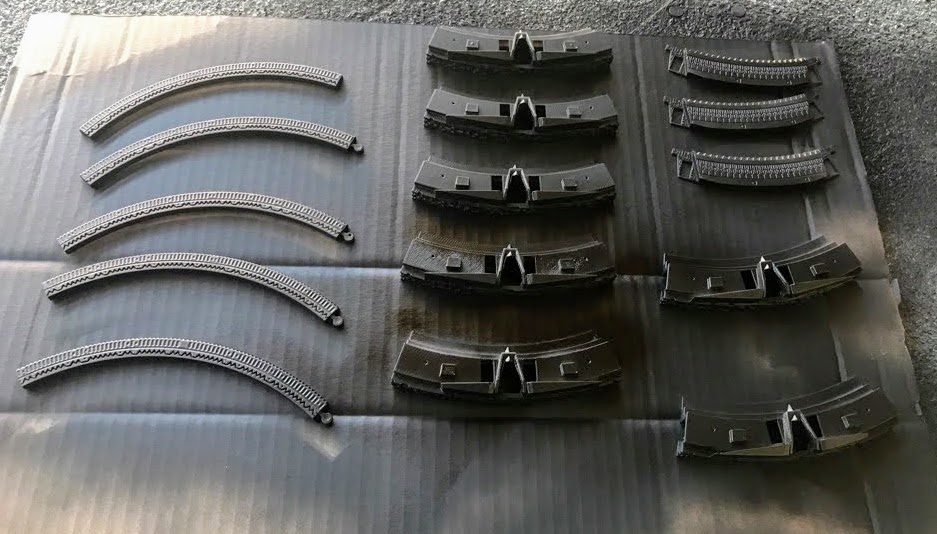
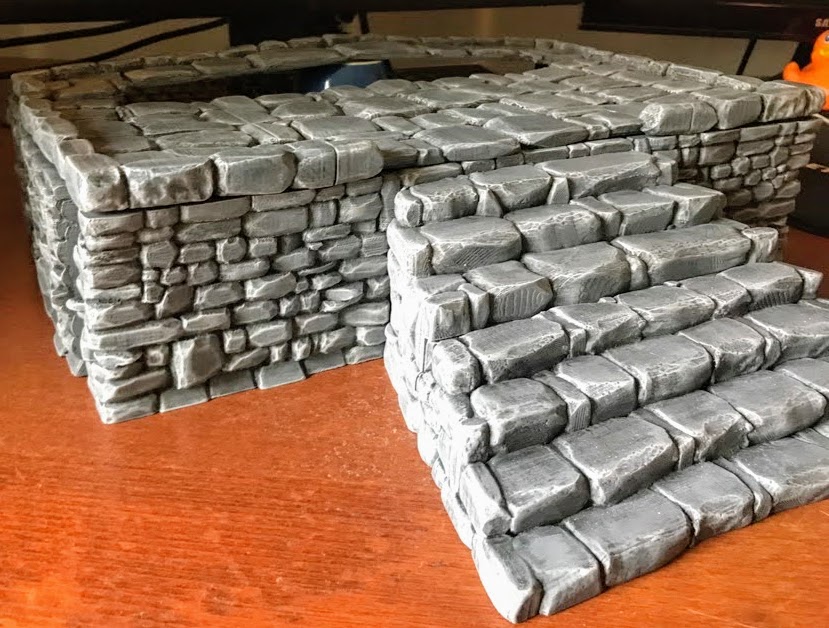
- Painted new base
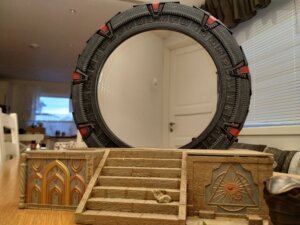
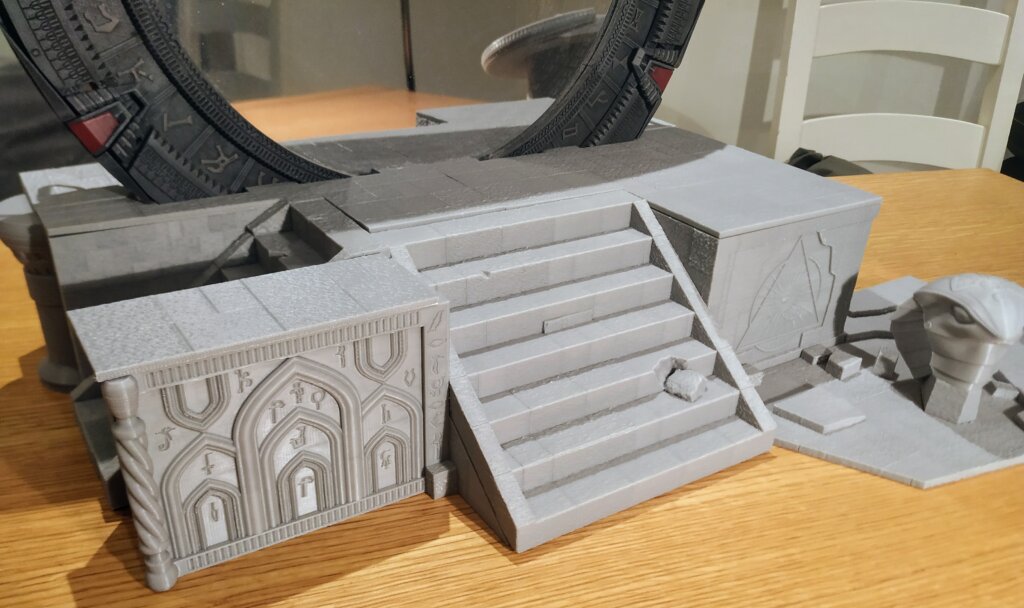
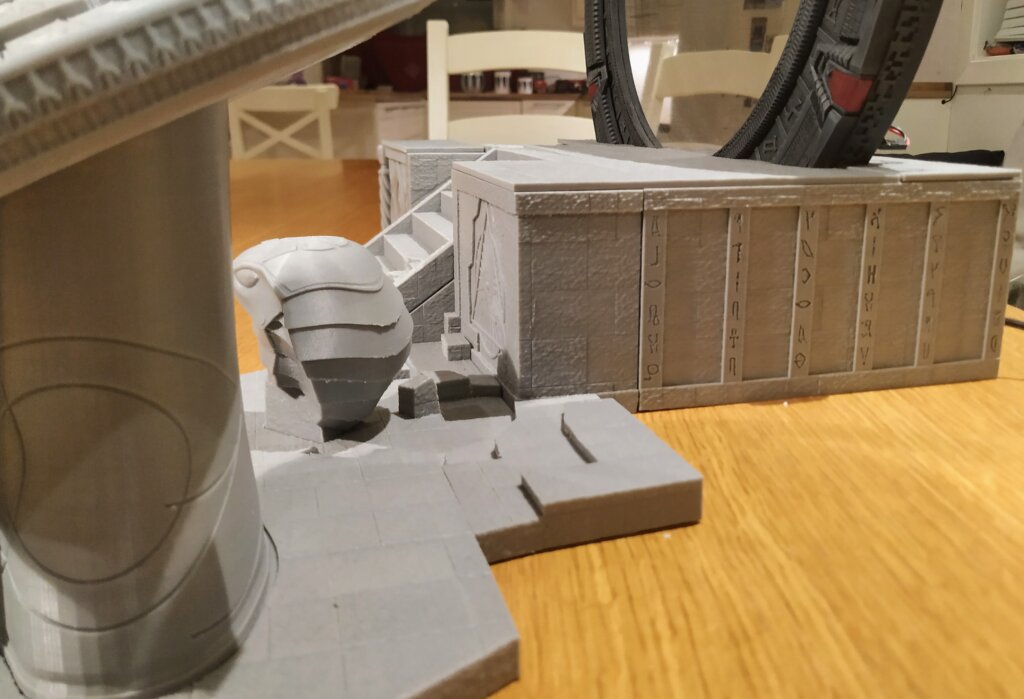
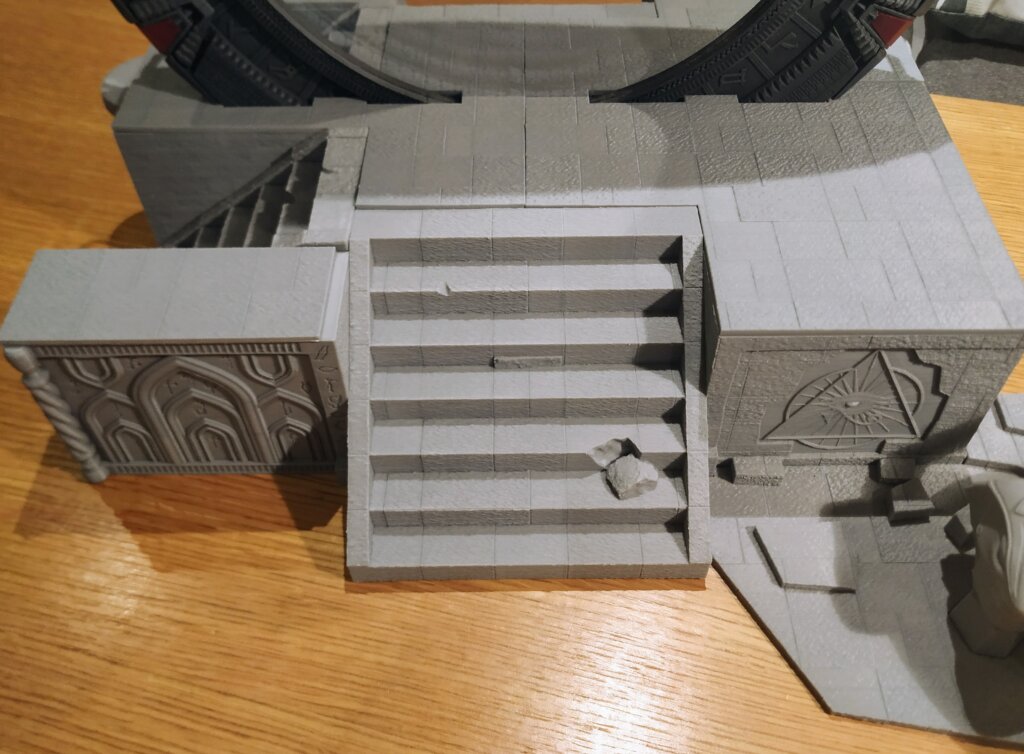
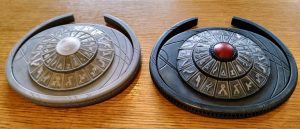
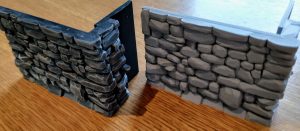
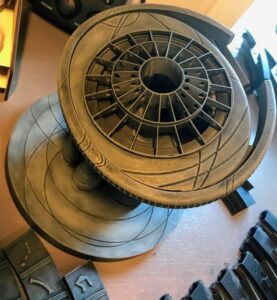
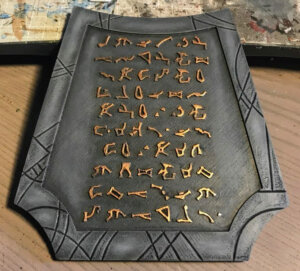
The painting of the new base is finally done. This new base and the Stargate are painted by my wife! I really like how it turned out.

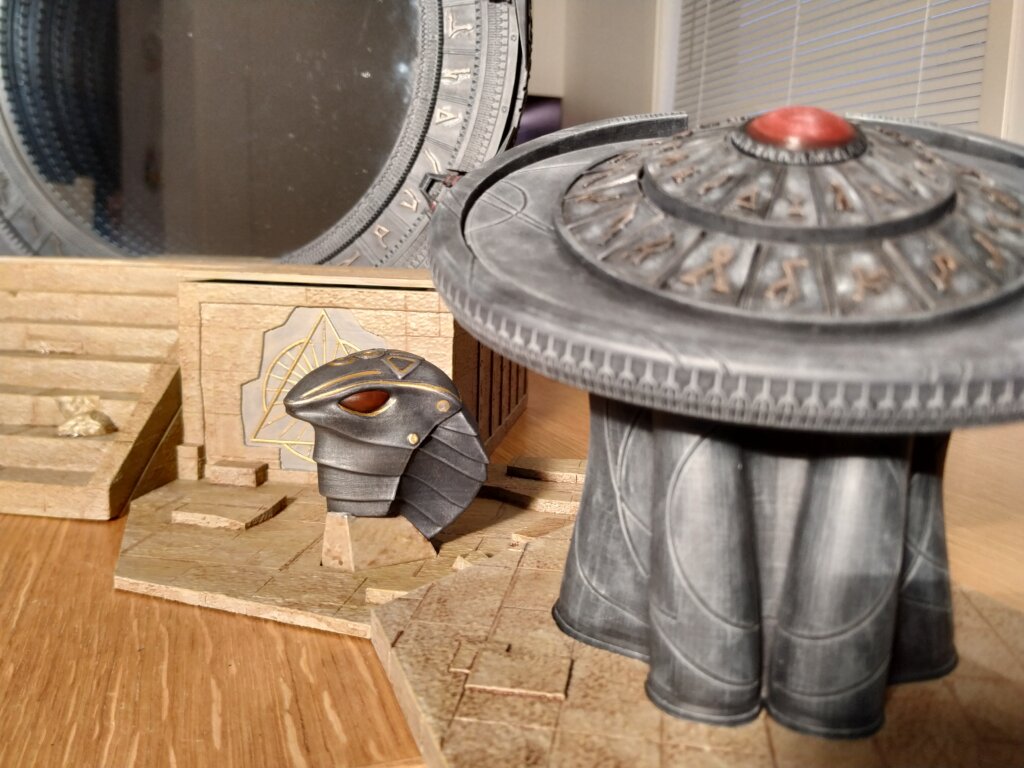

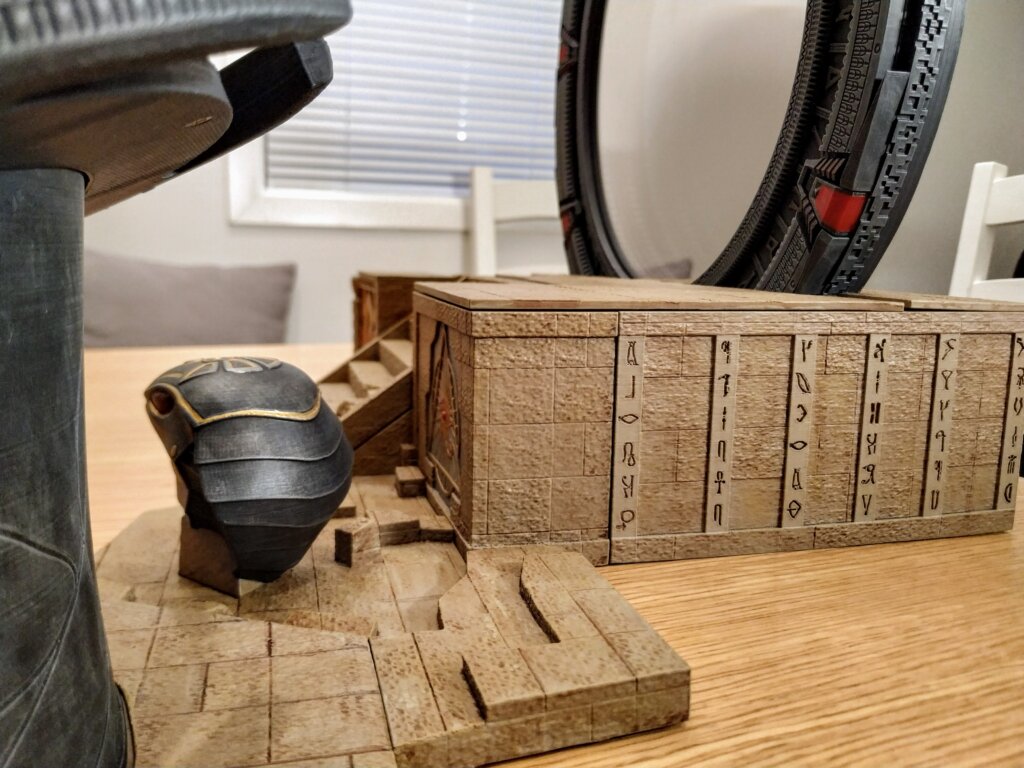
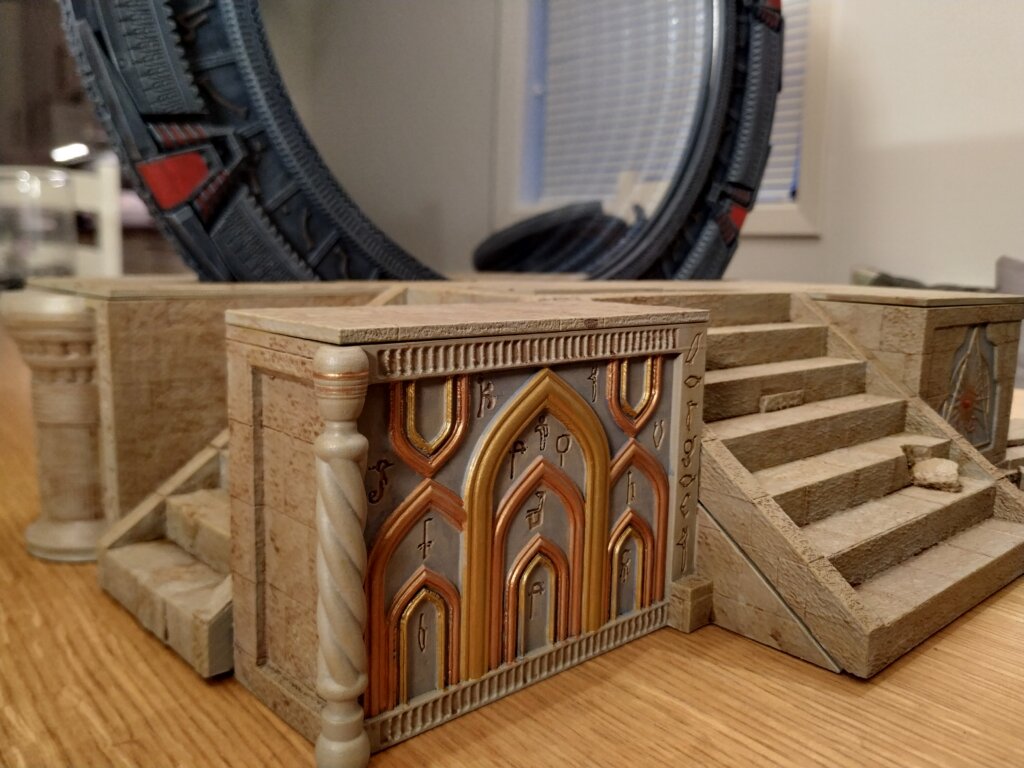
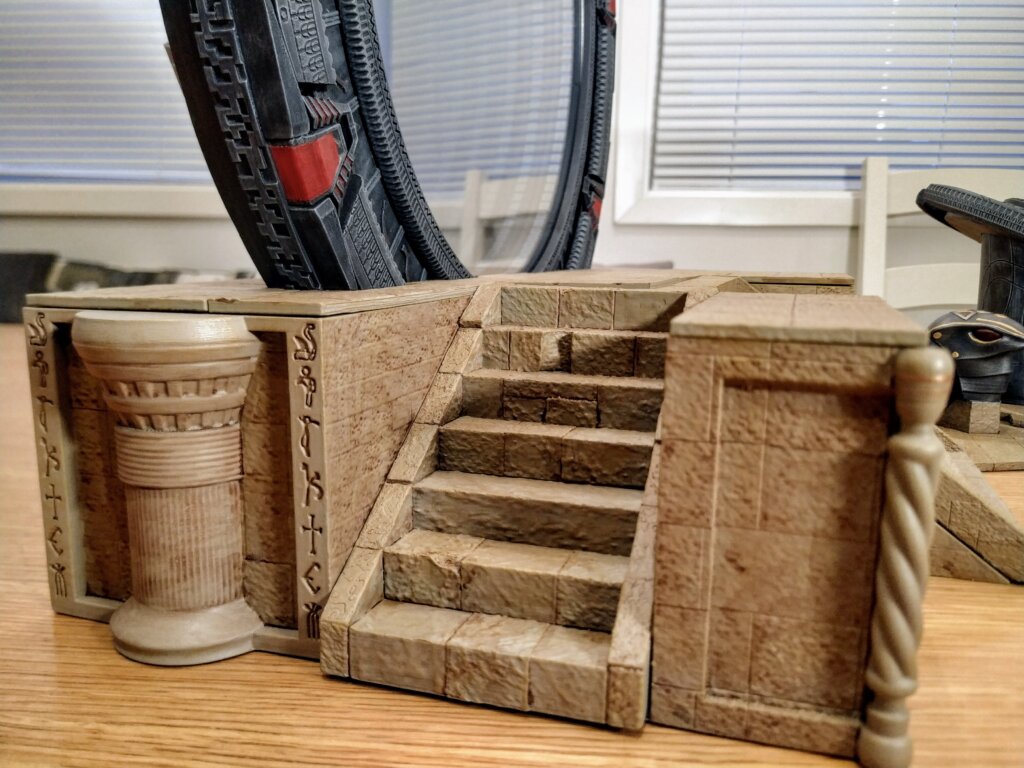
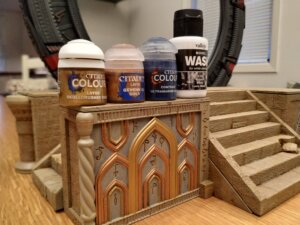
If you are interested in printing and painting this base yourself, you might want to know what colors she used, and such. Here are her painting notes:
The main stone/stair colors:
- Citadel: Karak stone
- Citadel: Technical Lahmian Medium
- The Army Painter Quickshade: Flesh Wash
- The Army Painter Warpaints: Desert Yellow
After priming with Citadel Chaos Black, she applied one or two layers with Karak stone to get the main color of the base. She then washed with a mix of 5 drops flesh wash and 2-4 drops of Technical Lahmian to highlight the cracks and get the desert-sand color look. She continued with dry brushing first with Karak stone and then with Desert yellow to liven it up even more.
The serpent helmet:
- Vallejo: Model wash for dark vehicles, black.
- The Army Painter war paint: Gun metal.
- Citadel: Color layer, eshin grey.
- Citadel: Color base, mechanicus standard grey.
- Citadel Color layer, Skullcrusher brass.
After priming with Citadel Chaos Black, she applied one layer of eshin grey, followed by black wash. She dry brushed with mechanicus standard grey and gun metal. The decorations are painted with Skullcrusher brass and gun metal.
Base decorations:
- Citadel: Color layer, Skullcrusher brass
- Citadel: Layer Gehenna’s gold
- Citadel: Color Contrast Ultramarines blue
- Vallejo: Model wash for white vehicles, white.
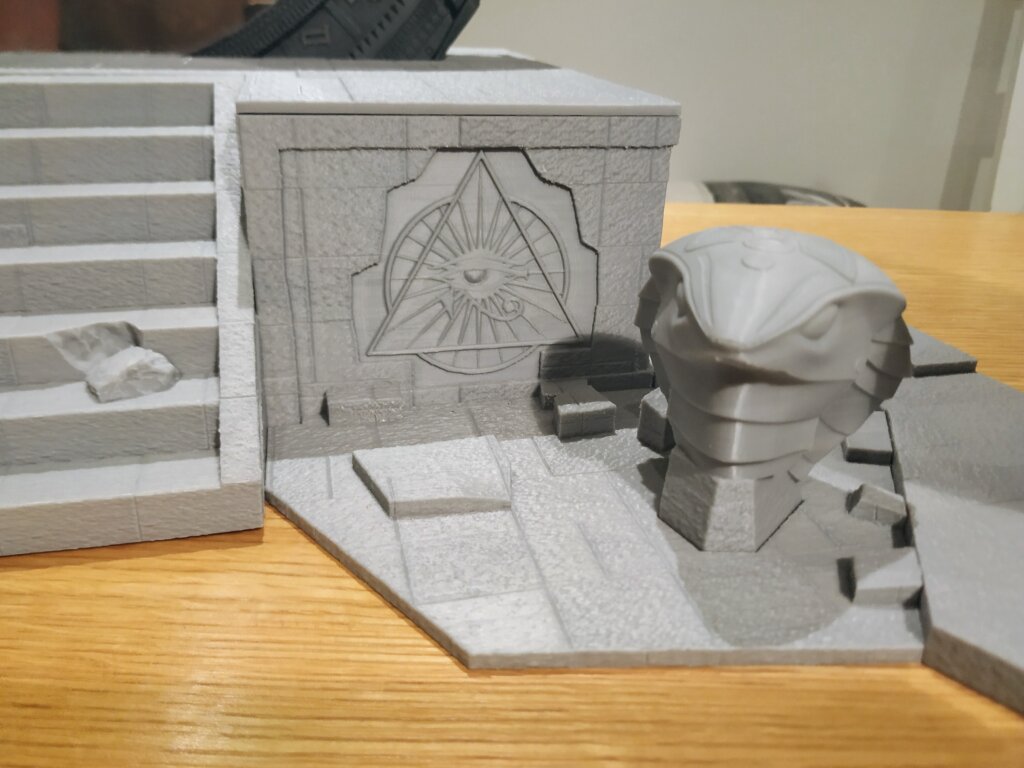
The background faint blue walls are painted with 5 drops with white wash mixed with one drop contrast ultramarines blue, and then brushed with karak stone. The details in the eye of Ra and the decorative arcs are painted with brass and gold.

- SG1 Update January 2022, new base

This update includes the following:
- New stargate base
- New STL files for dual extruder printers
- STL for printing the large gear in TPU
- New polished power PCB hardware files
- Mechanical drawings for the mirrors
New base
It is finally time for a new update. The update has been ready a while, but I wanted the new base painted prior to issuing the update. The painting is delayed, and I decided to go ahead and deploy the update without painting it first. If you decide to use the new base and paint it. I’d like to see pictures.
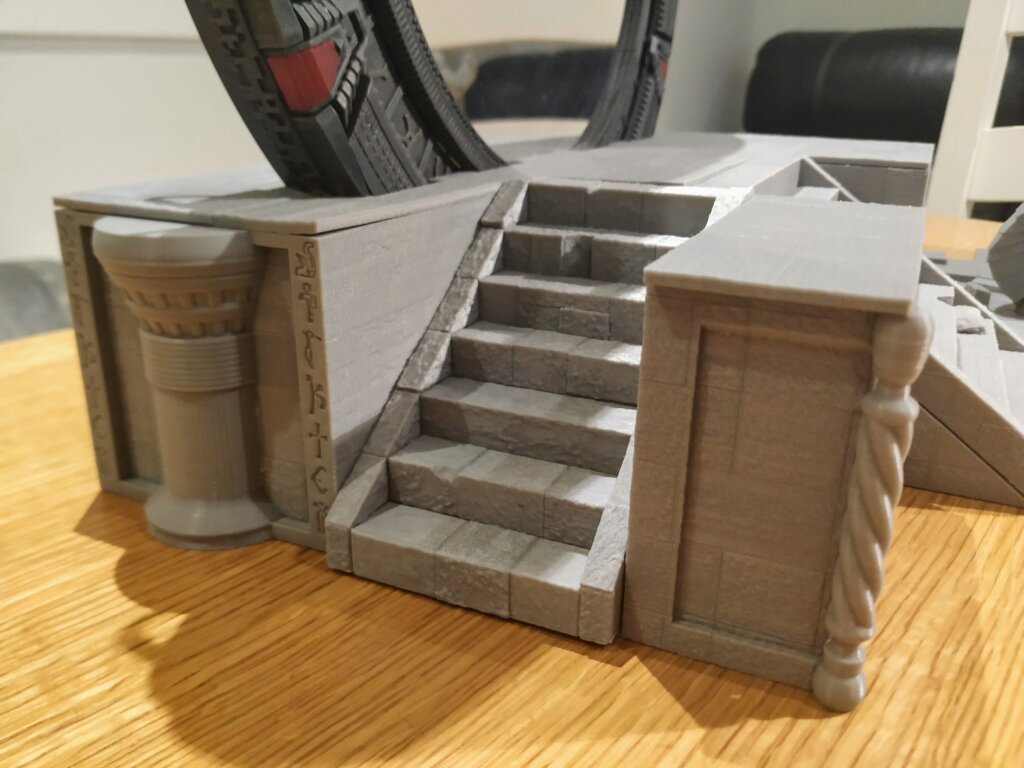
As you can see in the pictures, in addition to a removable lid this base also has removable stairs. This makes it a lot easier to access the hardware inside the base. The stairs can be laid “flat” when printing using a lot less support than the stairs in my original base. There are slight changes to the raspberry by base also. It makes it easier to get to the memory card and the power PCB is moved a bit to make room for the front stairs.
I noticed some stargate builders having some issues with orienting the STL files when printing. I have oriented the models in the new base the way I chose to print them on my FDM printer. You can choose any orientation that you like, but the default orientation of the models in the new base worked well for me.
Dual extruder parts
I got myself a new printer with dual extruder capabilities and have made new STL files for use with dual extruder printers. If you have a dual extruder printer, you can print the transparent and opaque models together.
TPU gear
I experimented some more with TPU printing and made a new version of the large gear. If you print this gear in TPU it will absorb even more of the stepper vibrations making its spin smoother. The hole in the new large gear is slightly smaller, giving it a snugger fit over the bearings. If you don’t want to fiddle with printing it in TPU you might also get a nice result printing the new gear with your filament type of choice. I have not tested that myself, but I don’t see why it shouldn’t work.
Power PCB v1.1
Due to the delay of part to make the announced main board, Jon was kind and polished up the power PCB, making it proper professional.
How to get it?
As always, the update is included in the downloadable archive if you have bought the files. You can download the archive again to get the new files. The archive is now rather large. If you have issues downloading it, let me know on discord or send me an email and we’ll work something out.
Also, I just want to mention that the work on the Pegasus/Atlantis gate is well under way. It’s still a lot of work and problems to overcome but it’s starting to take shape.
- SG1 Update April 2021
The stargate project keeps evolving and it is time for a new update! This is a big one and it includes some rather neat features.
From Carters lab:
New software with the following features:
- You can now dial other stargates over the internet and receive incoming wormholes from the internet. More information in the address book here: https://thestargateproject.com/address-book/
- You can add local stargates or custom internet stargates that is not publicly known and dial them up.
- We can now dial stargate addresses with different lengths. (Atlantis and destiny) (Chevron 8 and 9 have sound effects only)
- Self update feature; When there are updates for the program available, they will automatically be applied on startup. (Samantha will tell you over the speaker if there is an update happening.)
- Actions on the stargate are now being logged in a file on the pi: sg1.log (You can check the history in that file to see if there has been an incoming wormhole while you were away)
- Some minor features like the DHD blinking to indicate it is ready on start-up and “ready” audio clips are played when the stargate is ready to go.
To install the new software it is recommended to flash the new image on your SD card. The new image is already set up with the new software. You will find download instructions in the archive.
An alternative to using the SD image, you can replace the sg1 folder in the sg1 users home directory with the new sg1 folder from the archive. If you had previously made changes to the chevron part of the code, you will now find this part of the code in the new file called chevrons.py. If you are not using the SD image you also need to install some needed modules:
sg1@raspberrypi:~ $ source /home/sg1/sg1_venv/bin/activate
(sg1_venv) sg1@raspberrypi:~ $ pip install -r /home/sg1/sg1/requirements.txt
In addition to the new modules, you also need to install the wireguard software on the pi.
The software is ready with support for the new homing sensor option. To use the new software you will have to enable SPI on your pi. Run the command “sudo raspi-config”, Choose Interface Options and then “Enable automatic loading of SPI kernel module”.
New hardware files:
The archive also includes Jon’s new chevron PCB gerber files and the new gear motor shims. Did you know he also sells complete chevron kits and motor kits?
https://www.etsy.com/listing/983268249/chevron-pcb-kit-unassembled
https://www.etsy.com/no-en/listing/1008902725/motor-kit-chevron-dc-motors-glyphFrom the naquadah-mine:
Some new alternate STL files are included in the archive. These are mostly requested changes made on the discord stargate community.
Homing sensor:
When the new stargate main-board is ready, it will include the option to add a homing sensor for the spinning ring. This update includes new and modified STL files to accommodate the homing sensor:
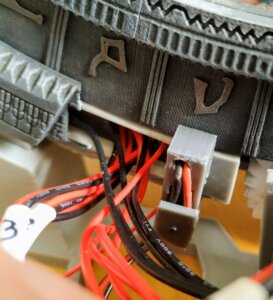
Homing sensor front 
Homing sensor back - Core_ring Bottom Left.STL
- Calibration sensor.STL
- Glyph_ring_d.STL
- 2xCalibration sensor wire holder.STL
- Discord
A few people have asked about a space for communication and sharing with others building the stargate. I have created a discord server for this purpose. If you are building a stargate of your own and want in. Send me an email to kristian@thestargateproject.com and ask for an invite. I’ll respond with the invite link.
- Stargate Update!
The update is finally here! It has been a lot of work and it took some time, but it is finally ready. The updated version is available to everyone who has already bought the files and new buyers will get the updated version.
This is a rather big update. Many of the changes comes from suggestions from the community. Thanks for all your amazing feedback.
DHD PCB
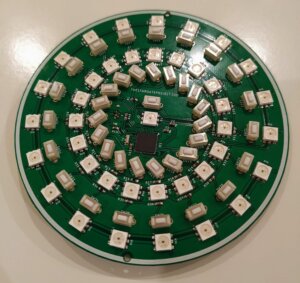
The most significant change is the new PCB for the DHD. This new version completely removes the need for the old keyboard PCB. Yes! That is right. Even though “Hacking” an old keyboard and reusing the PCB in the Stargate project was fun, it was not that practical. The new DHD PCB functions as a keyboard by itself. It is attached to the raspberry pi with only one regular micro-USB cable instead of the two cables required in the previous version. Both the keys and the lights in the DHD are controlled through this one USB cable. The DHD PCB is recognized by the raspberry pi as an ItsyBitsy 32u4 – 5V 16MHz and can be programmed like an Arduino.
A huge thanks to my new friend Jonathan Moyes for his expertise when making this PCB. Jonathan has basically made the whole PCB. I could not have done it without him!
The archive does contain the gerber files for this new DHD PCB, but it also contains the project files if you want to study it further.
More details of how to make the DHD PCB can be seen on the updated page here.
STL
People who owned larger printers asked for parts that were not split in so many pieces. There is now a directory with larger parts for larger printers. As an example, the spinning symbol ring can be printed as a whole complete ring, instead of the 5 parts. The lower stairs part is split in two, to make the printing easier. There is however a full stair part for those of you with large printers.
The elimination of the keyboard PCB “forced” some changes to the DHD. Most noticeably the platform for where the DHD stands. I have also added a new object that ties the DHD to the base and hides the USB cable. The painting of this object is not yet done but will be displayed on this site when it is finished painted and assembled.
The STL files where you need to print more than one of the same file is now named with the amount you need to print. For instance, the file 8xOuter_ring.STL tells you that you need to print eight pieces of this part.
Software
I have split the Python program in smaller files to make it easier to read and modify. You no longer need to place the Python program folder in any particular directory, as I have made the path references relative. The order of the chevron activation has been updated and it is now necessary to use the center button on the DHD to establish a wormhole. I have also added a new feature when the black hole planet is dialed. You must never dial the black hole planet! You have been warned! The program is of course also updated to work with the new DHD PCB.
A few people asked about more detailed instructions on how to set up the raspberry pi. I have updated the description here with step-by-step instructions for how to set it all up.
Other info
In other news, for those of you who are waiting for the auction of the completed Stargate I am glad to tell you it is nearing completion. The gate for the auction will feature all updates mentioned in this post and some details not yet mentioned.
Many people have also asked about the possibility to buy a DIY kit with all needed parts. I am in dialogue with a local manufacturing company and are looking into the possibility to have the printed parts made professionally. So far it looks like it will be rather expensive, but I will keep the dialogue going with them to see if we can come to a solution that works for this project.
Will there be more changes or updates? There are still some rather obvious improvements that can be done. I could swap out the chevron LEDs with addressable dotstars to make the wiring a lot simpler and add the possibility to control the LED colors and brightness in the chevrons. One of the hardest things with a project such as this is to draw a line when the projects is “good enough”. I do not think I will draw that line just yet. Also, I would like to shift the focus over to one of the other variations of Stargates from the show. Wouldn’t it be fun to have the other gates as well?
- Thanks for all the feedback and kind words!
First I would like to send out a huge thank you to everyone that has commented on this site, on the youtube video, reddit, twitter and all the places where this project has got some love and attention! It’s really inspiring to get such a huge amount of comments from people who like my project. I am getting a lot of request from people that want to buy a complete assembled “functioning” Stargate as seen in the presentation video. I am currently in the process of making a second gate to put up for auction. See the “Buy a complete Stargate?” page for more information.
The second gate (Not to be confused with the one found in Antarctica), is nearly finished printing. I am currently working on the tech, and and doing some tweaks. I will have to wait for delivery of some parts, which delays the project a bit. After the gate is assembled and and tested, it will be disassembled for vaping, and handed over to my brother in law, who does the fantastic paint job.
- The Stargate Project is done
After about 18 months I have finally reached the end. I now have a complete functioning Stargate, ready to transport anyone to another planet! It’s been a long journey. I have made a new video presentation on the front page, It’s on youtube this time around. Also there is a new page with some more information that should be handy if you decide to make one yourself: Make it yourself. And as requested by so many of you, I have made it possible for anyone to buy the files here.

- The paint job is done!
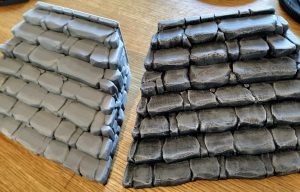
The painting of all visible 3D printed stargate and DHD parts are now finished. Before assembling the parts i put them side by side of some none painted parts just so see the difference. A good paint job makes a big difference, don’t you think? Here are some pictures where you can see the “before” and “after” look.
- Painting the stargate (part 2)
- Painting the stargate (part 1)

It has been a while since the last update on my stargate project. But here’s finally a little something. The project is currently being painted. This is a difficult and time consuming job and I have enlisted my brother in law to paint the stargate, as he has experience with this kind of thing compared to myself. The first step in the process is to smooth the parts by vaping them in acetone.
- Chevron lights, power distribution and rewiring.

It’s taken a great while, but i have now finally put some lights inside the “V” part of the chevrons. It’s not yet painted and i have just used a black marker on the parts that should not let the light shine through. I did this on the top chevron only.

It was not easy finding a method that did not take to much space, so that it could actually fit it inside the Stargate. I ended up designing a tiny and rather simple PCB.
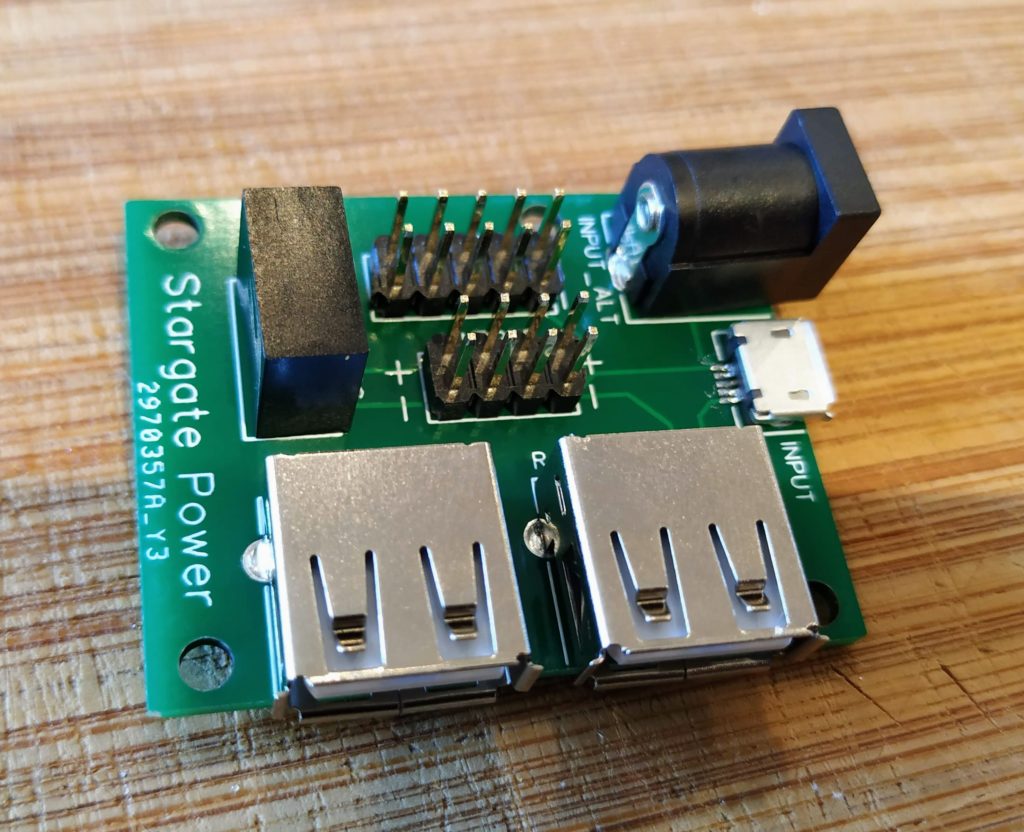
I want to power the Stargate from one single power cable and therefore made a power distribution PCB. It takes input power from either micro USB or a barrel jack. The The raspberry pi is connected to one of the USB -A connectors and the speaker to the other one. The black “box” on the PCB is a B0505S-1W module. It takes 5V dc input, converts it to AC and then back to DC before it outputs 5V DC again. This way I get a separate isolated circuit. I have to use this isolated circuit to power the speaker. If i don’t there are lots of nasty noise coming from the other components. This noise is very annoying, and very loud. Using that tiny black box removes the noise and I get clear audio from the speaker.

I have also rewired the “brains” of the Stargate. One of the added features of this rewiring is that it’s easier (possible) to detach the Stargate from the base. This makes it a lot easier to work with the Stargate and make changes when needed.
And Finally a short video showing the new chevron lights:
- DHD lights
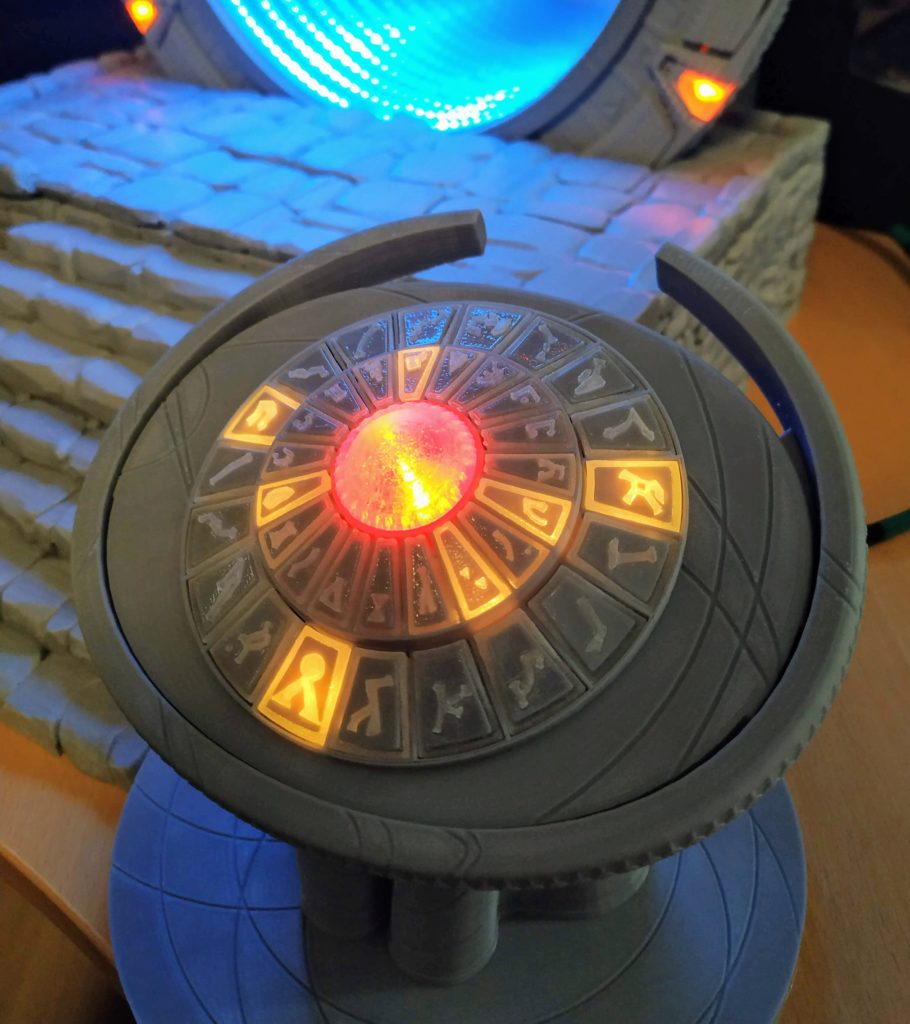
I have finally been able to make the DHD buttons light up when pressed. It took some time and a few tries to solder all the small dotstar led’s to the PCB. I learned that i lack the necessary experience and tools to properly solder them using traditional solder method. I ended up buying solder paste and used a “do it yourself at home reflow technique” using a regular kitchen stove. It worked out nicely! I have made a short video of how the buttons lights up when pressed.
- Stargate scale?
- Tablet with addresses
- Stargate Project is Online!
I finally took the time to make a site for my nerdy Stargate Project. I have been working on this Stargate Project for a very long time, and it’s starting to come together. The plan is to add a new post here whenever there are progress on this project. The project is nearing completion, but there are still a few things to fix and improve. At the moment it’s a bit slow-going as I am waiting for delivery of needed parts. That’s actually how I found the time to make this site.


